FACT24 ENS+
Utgivelsesnotater
Portal Version 3.28
Portalversjon 3.9
Portal Versjon 3.4
Portal Versjon 3.3
Portal versjon 3.0
Portal versjon 3.2
Kom i gang
Oppsett
Administrer ENS+ brukere
Lag din egen organisasjons-struktur
Nummervisninger
Adresseregisteret
Kategorier
Ordliste
Filutforsker
Nedlastingssentralen
Din Konto
Tofaktorautentisering (2FA)
Konfigurasjoner
Personer og grupper
Alarmkonfigurasjoner
Alarmer
Konfigurasjon av startskjemaer
Meldingsmaler
Kalender
Stedsprofiler
Geolokaliseringsprofiler
Hviteliste
Arbeidsoppgaver
Hendelser
Slik bruker du funksjonen for spørreskjema
Varslingsmaler
Alarmflyt
Grensesnitt
Operasjonssentral
Alarmsentralen
Aktiver og stopp alarm
Startskjemaer – Utløser
Ad hoc alarm
Alarmoversikt
Chat
Telefonkonferanse
Videokonferanse
Spørreundersøkelser
Rapporter og statistikk
Alenearbeidere
Mediegateway-innstillinger i skyportalen
Microsoft Teams-app
Legg til moduler
FACT24 ENS+ Krisehåndtering
Telekom-innstillinger «Cloud of Things» for smalbånds grensesnitt
FACT24 ENS+ ekstern API (REST) – Funksjonalitetsomfang
FACT24 AI
FACT24 CIM
Utgivelsesnotater og utgaver
Slik kommer du i gang
FACT24 CIM starter – viktige trinn
FACT24 CIM essential
FACT24 CIM advanced
Introduksjon
Startside
Admin arbeidsflate
FACT24 CIM-rollene
Navigasjon
Søk
Nivåer
Kontakter
Steder
Jobbe med hendelser og alarmer
Oppgaver og tiltakskort
Logger
Rapporter og statistikk
Maler
Risikoanalyse
Mobilapp (FACT24 ENS+ and CIM)
App Releases
Nedlasting og grunnleggende informasjon
Mobilapp-seksjon FACT24 ENS+
Grunnleggende og pålogging
Generelle innstillinger
Konto
Lokasjonsbaserte tjenester
Gruppehåndtering
Utløs alarmer
Endre alarmer
Aktive alarmer
Historikk
Rapporter
Krisehåndteringsplaner
Ivaretagelse av alenearbeidere
Spesielle smarttelefoner
Mobilapp-seksjon FACT24 CIM
Kundestøtte
Innholdsfortegnelse
- Alle Kategorier
- FACT24 ENS+
- Konfigurasjoner
- Grensesnitt
- Connectivity Hub
Connectivity Hub
Accessing the Connectivity Hub via the App-Switch in FACT24 ENS+
The Connectivity Hub is available to Principal and Auditor Users on FACT24 ENS+, via the App-Switch in the top left.
Principal User View
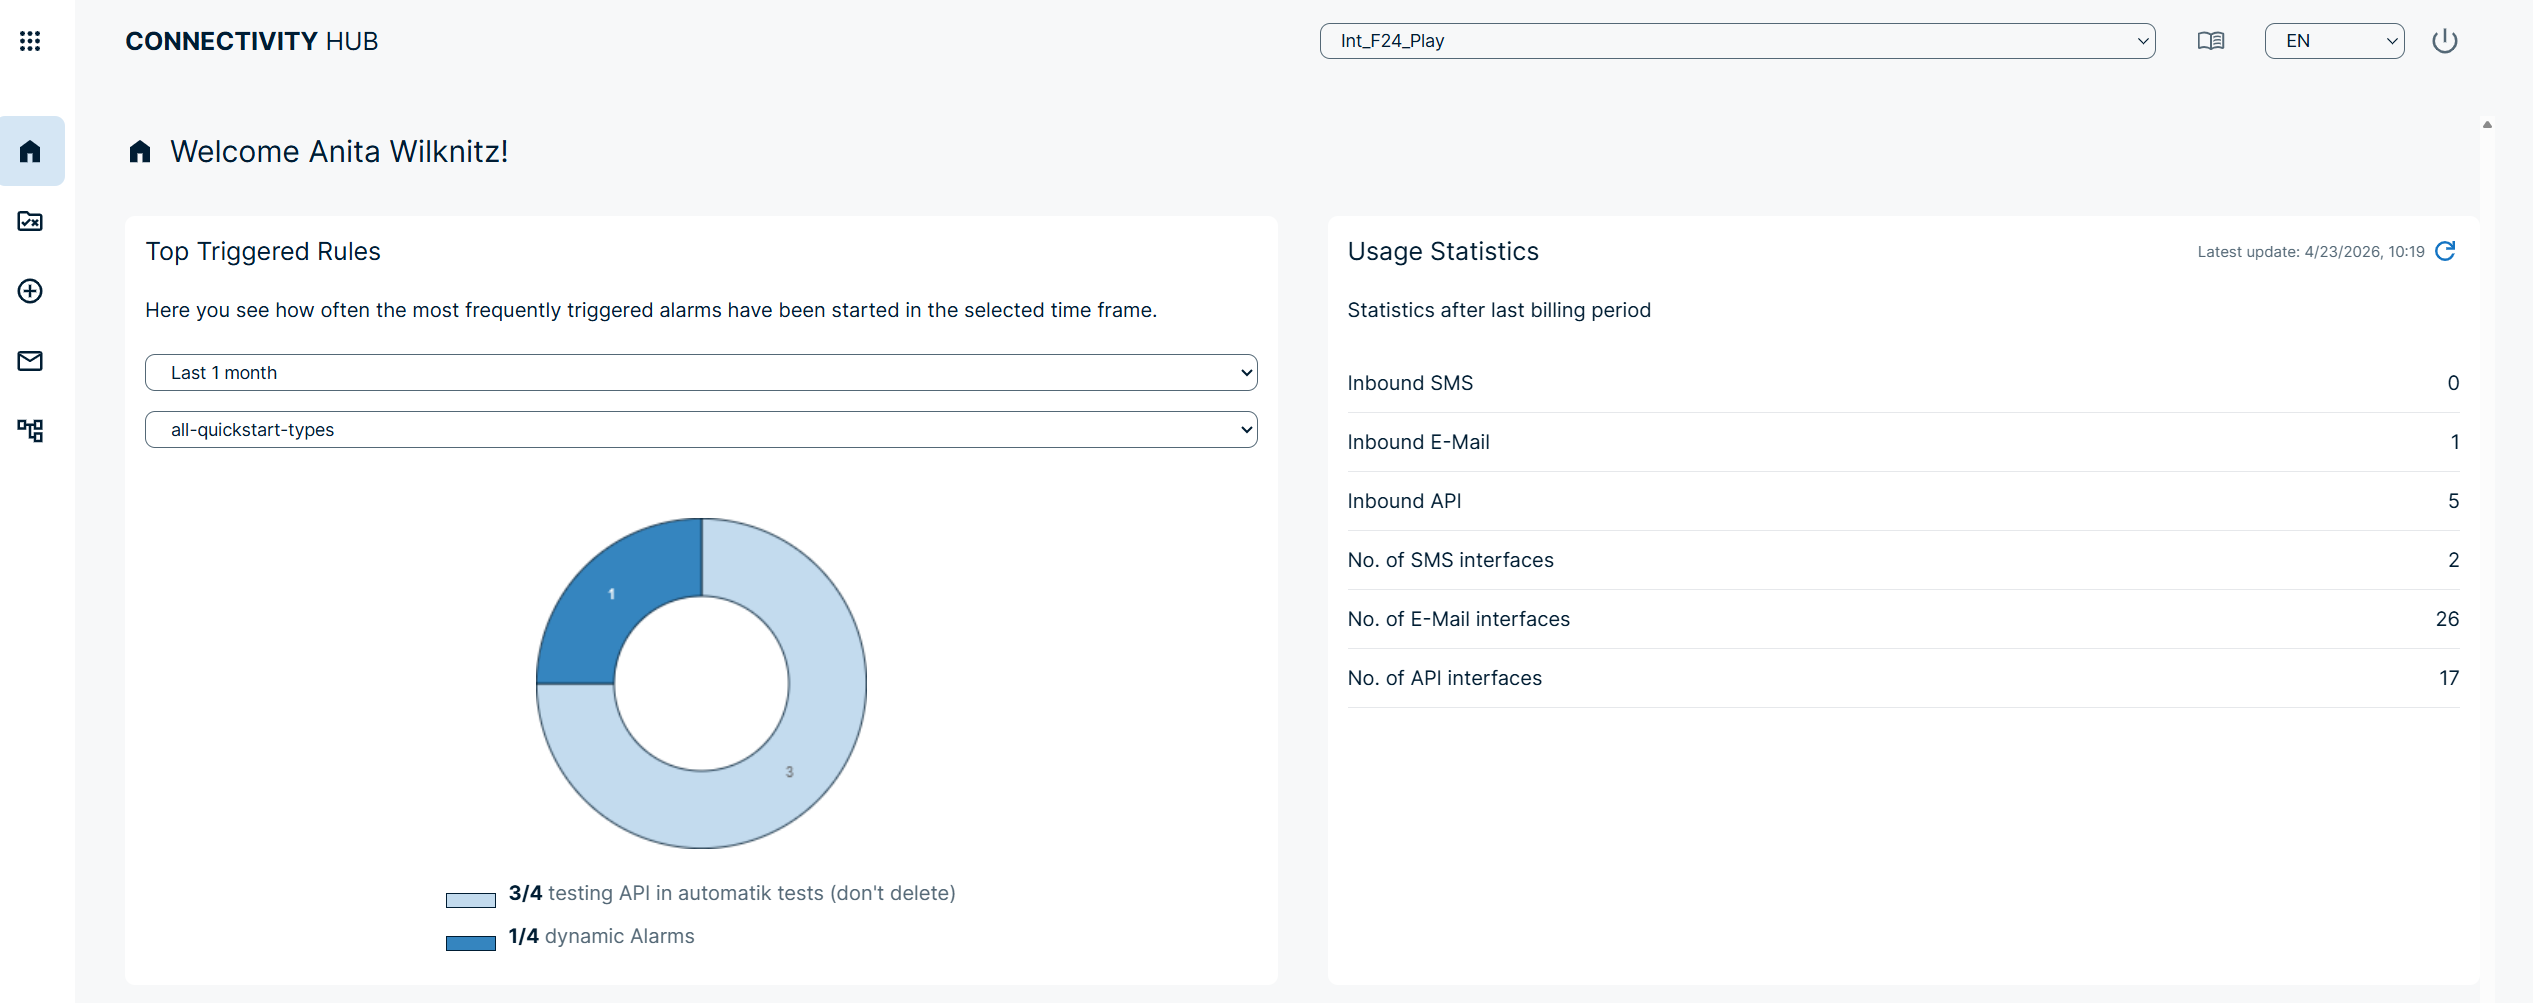
Homepage
When the user logs in to the Connectivity Hub as a ‘Principal’, they are redirected to a home page where they can view the most frequently triggered rules and some usage statistics.
There are various navigation buttons on the left, through which the user can configure and test rules.
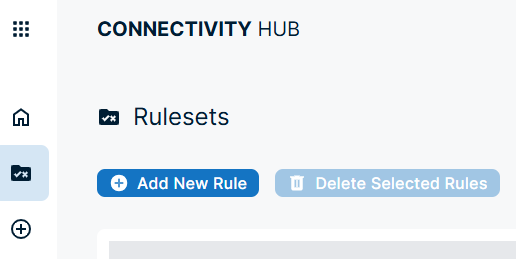
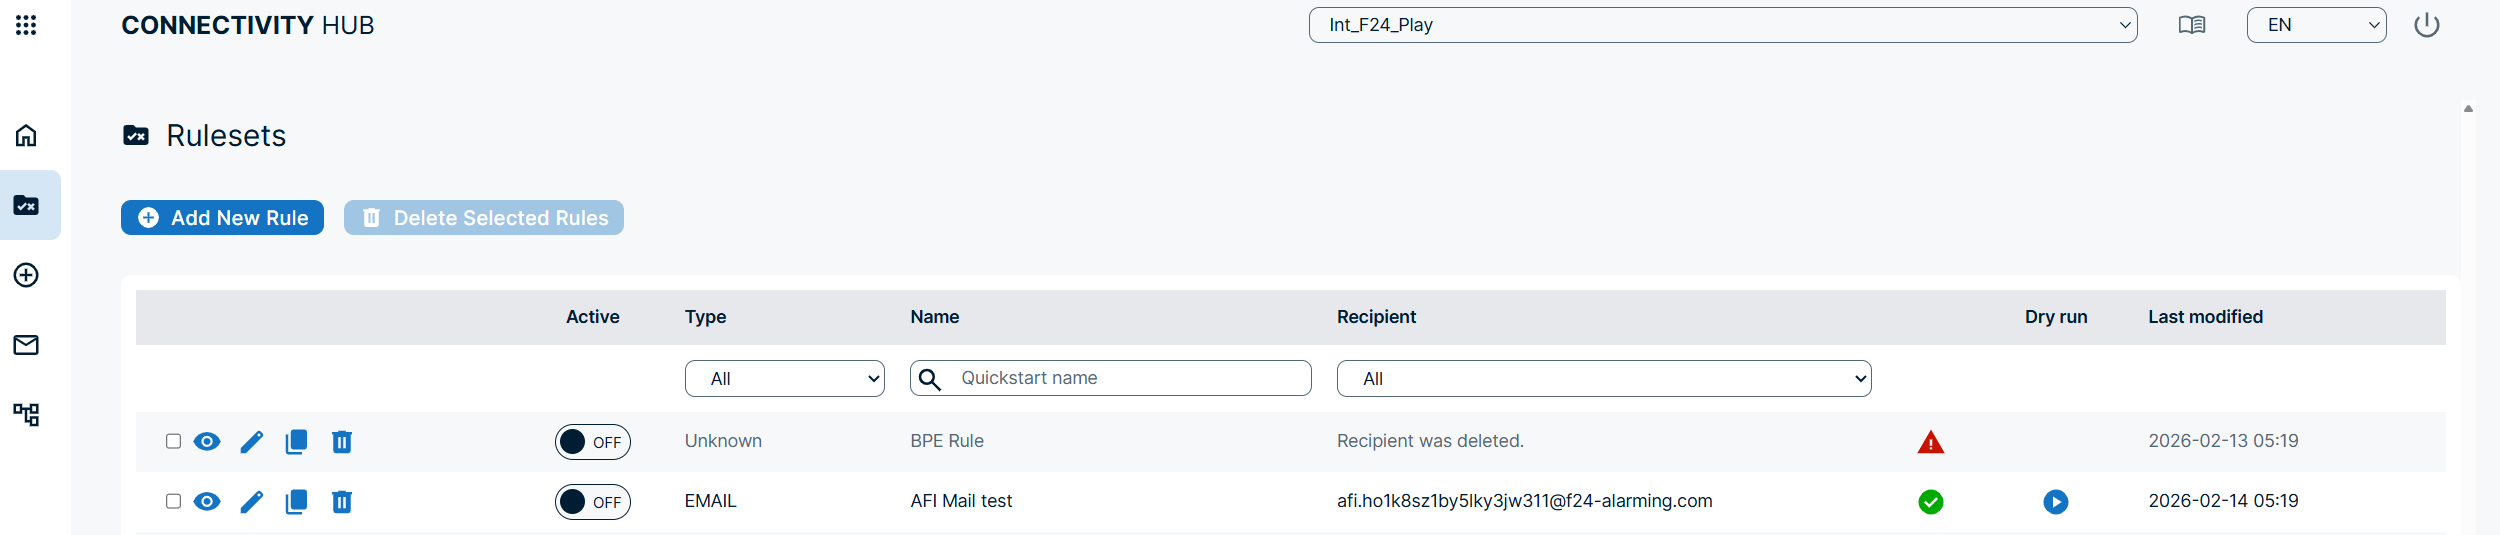
Rulesets
Click on the first icon below the homepage icon to access the list of all rules.
Here, the user can filter the list of rules according to various criteria.
Using the buttons to the left, the user can view, edit, duplicate or delete a rule (in that order).
The play button in the ‘Dry Run’ column is used to check whether the rule triggers the desired alarm as configured.
Rule Maker
There are two ways to create a new ruleset:
- Via “Add New Rule” in the list of rulesets, or
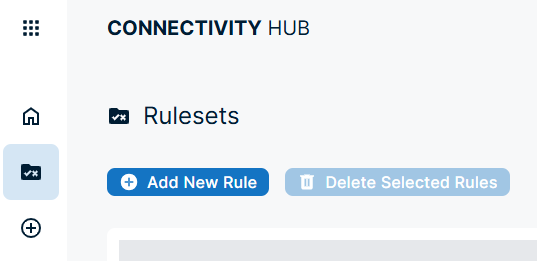
- Via the + icon in the navigation bar
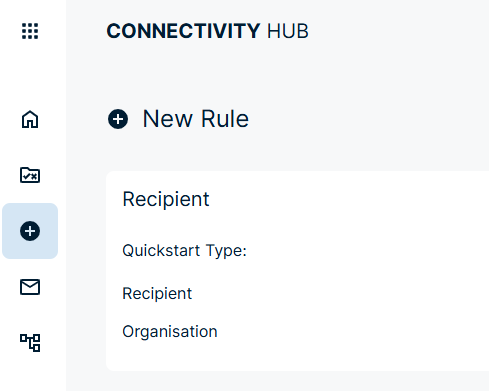
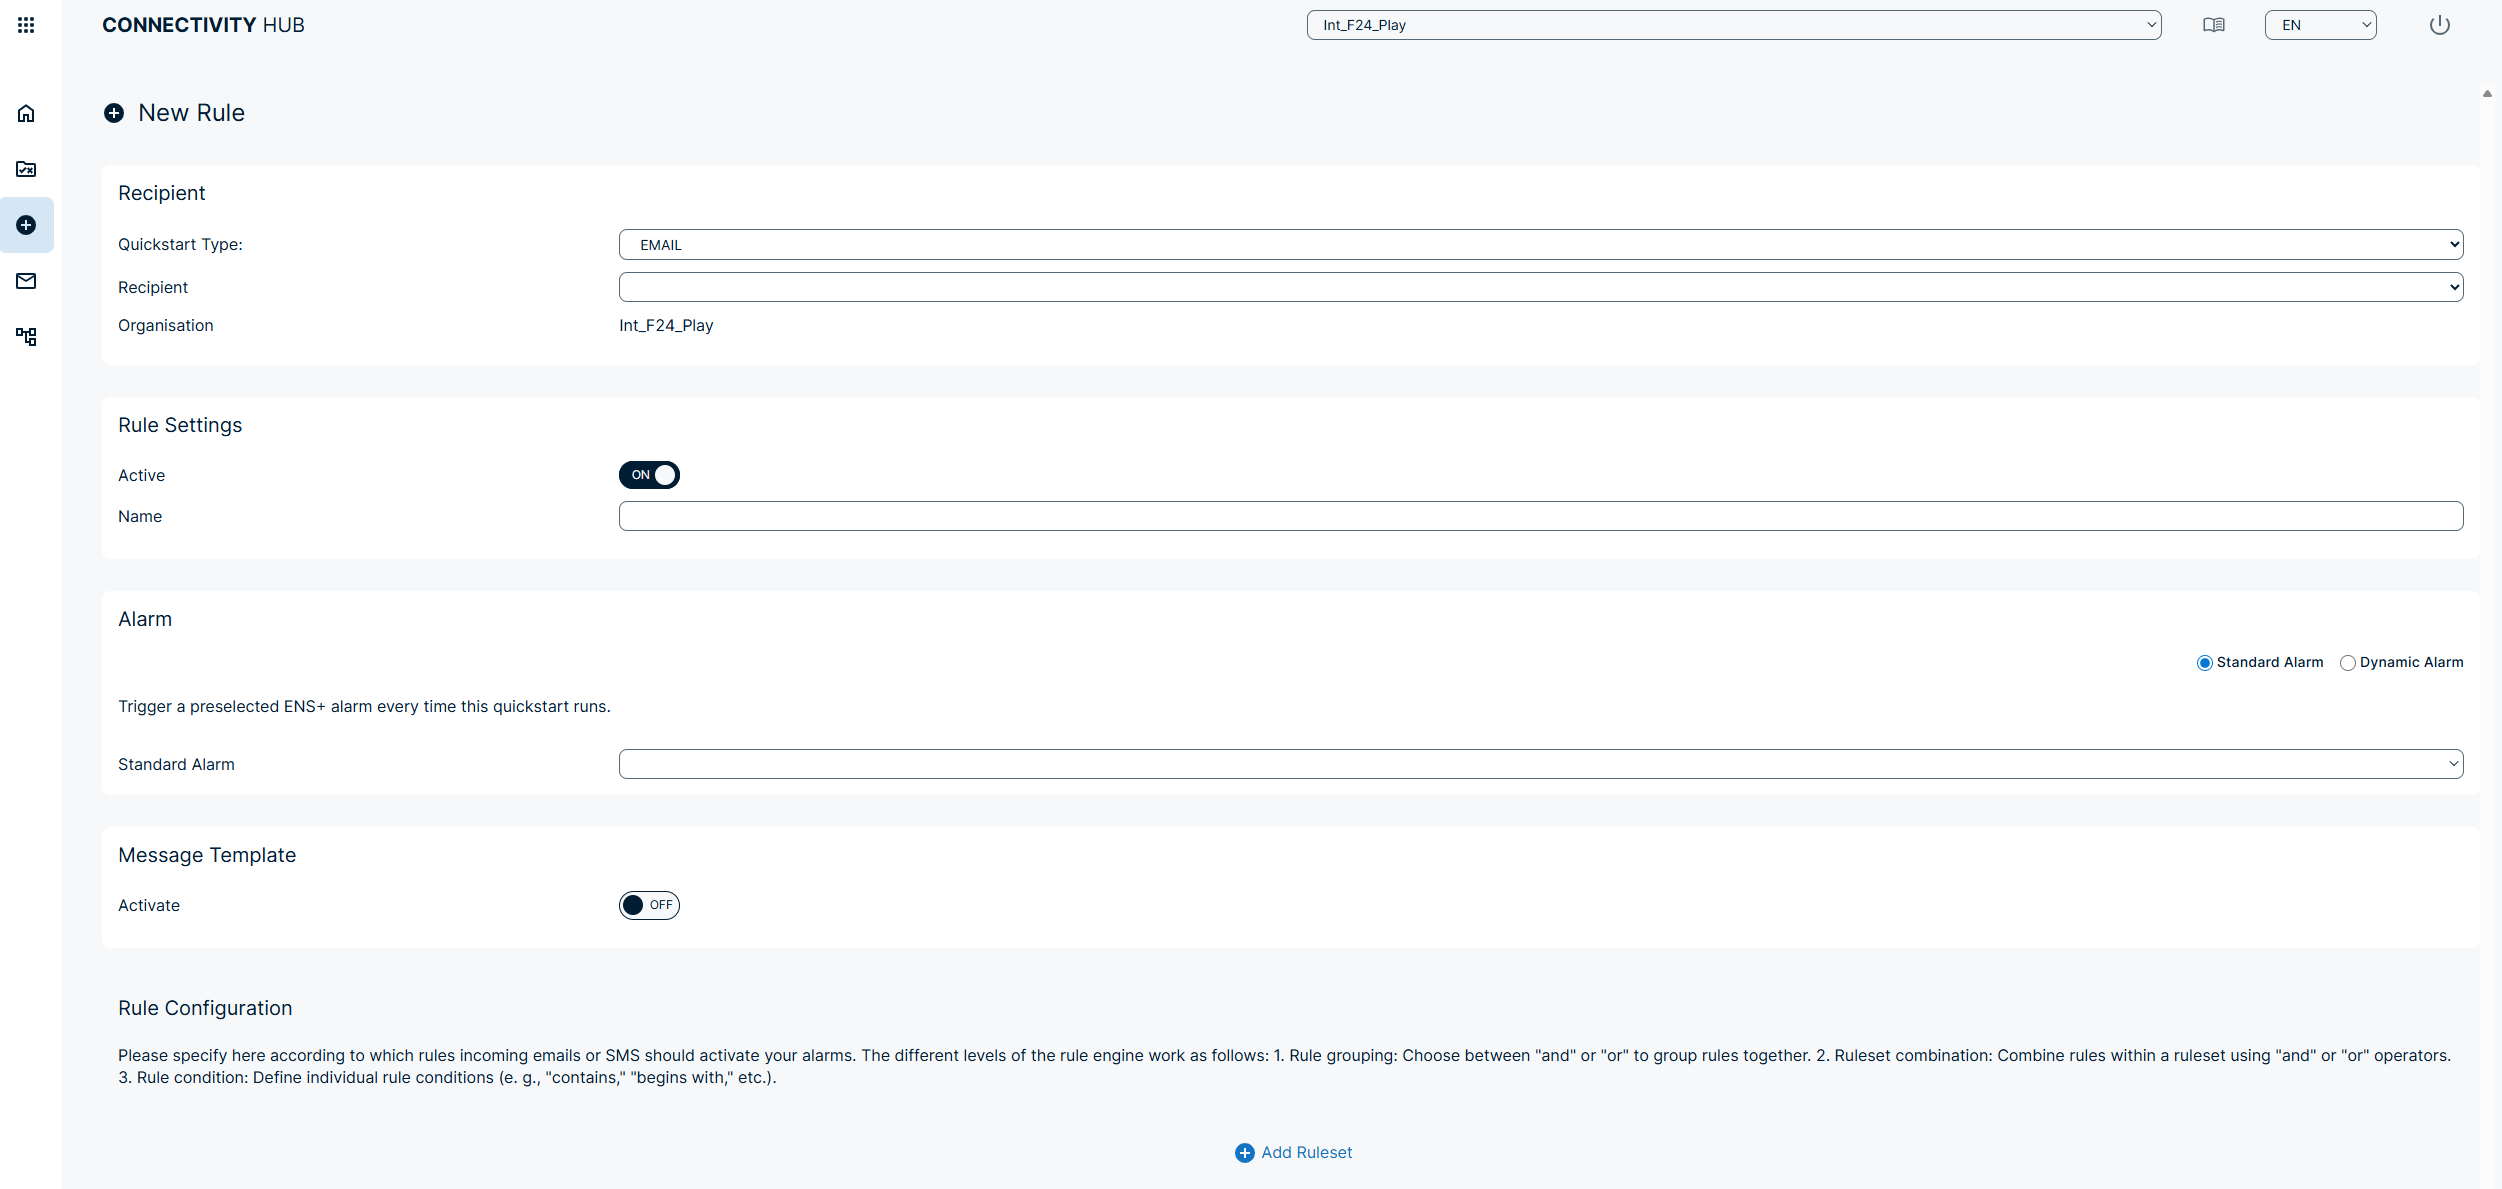
Here, the users can choose between different types (Email, SMS, REST & VDS) and select recipients from the list.
Give the rule settings a name and set them to Active.
Now select a FACT24 ENS+ alarm that will be triggered as soon as the rule set is met.
To trigger an FACT24 ENS+ alarm via the Connectivity Hub, the ‘API Connection’ channel must be enabled in FACT24 ENS+.
Message Templates
The Mail icon in the navigation bar takes the user to the ‘Message Templates’ page.
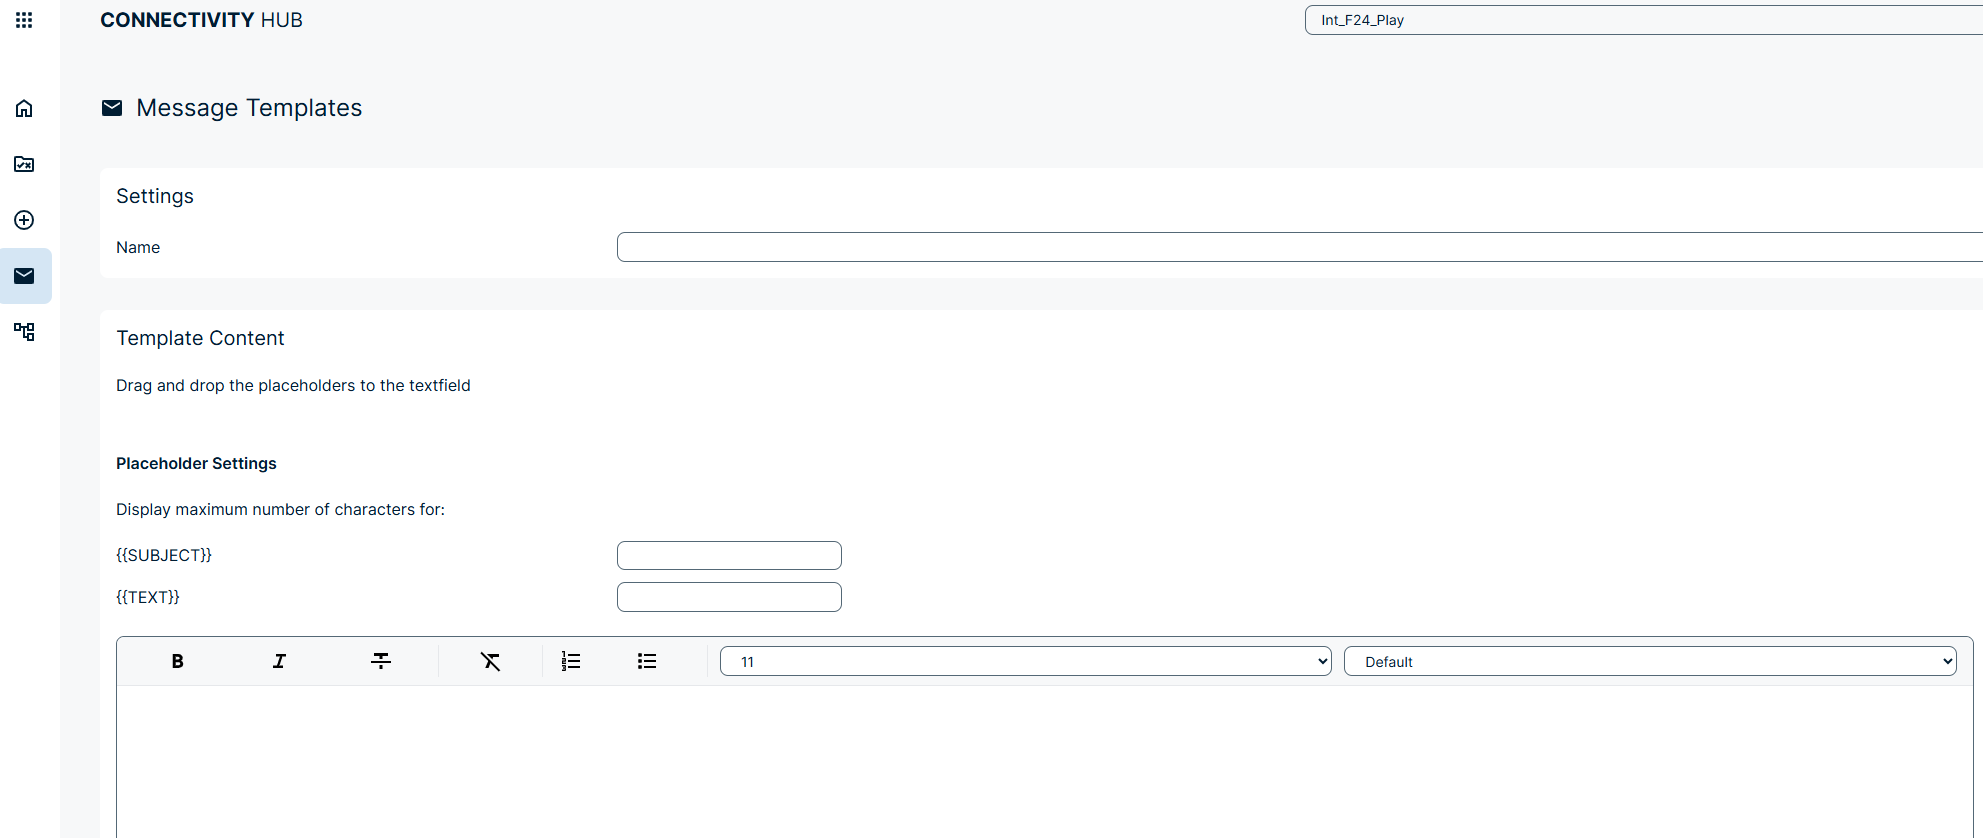
Here, the user can create predefined message templates, using placeholders to create a custom message that overrides the FACT24 ENS+ alarm text, thereby indicating that this alarm was triggered via the Connectivity Hub.
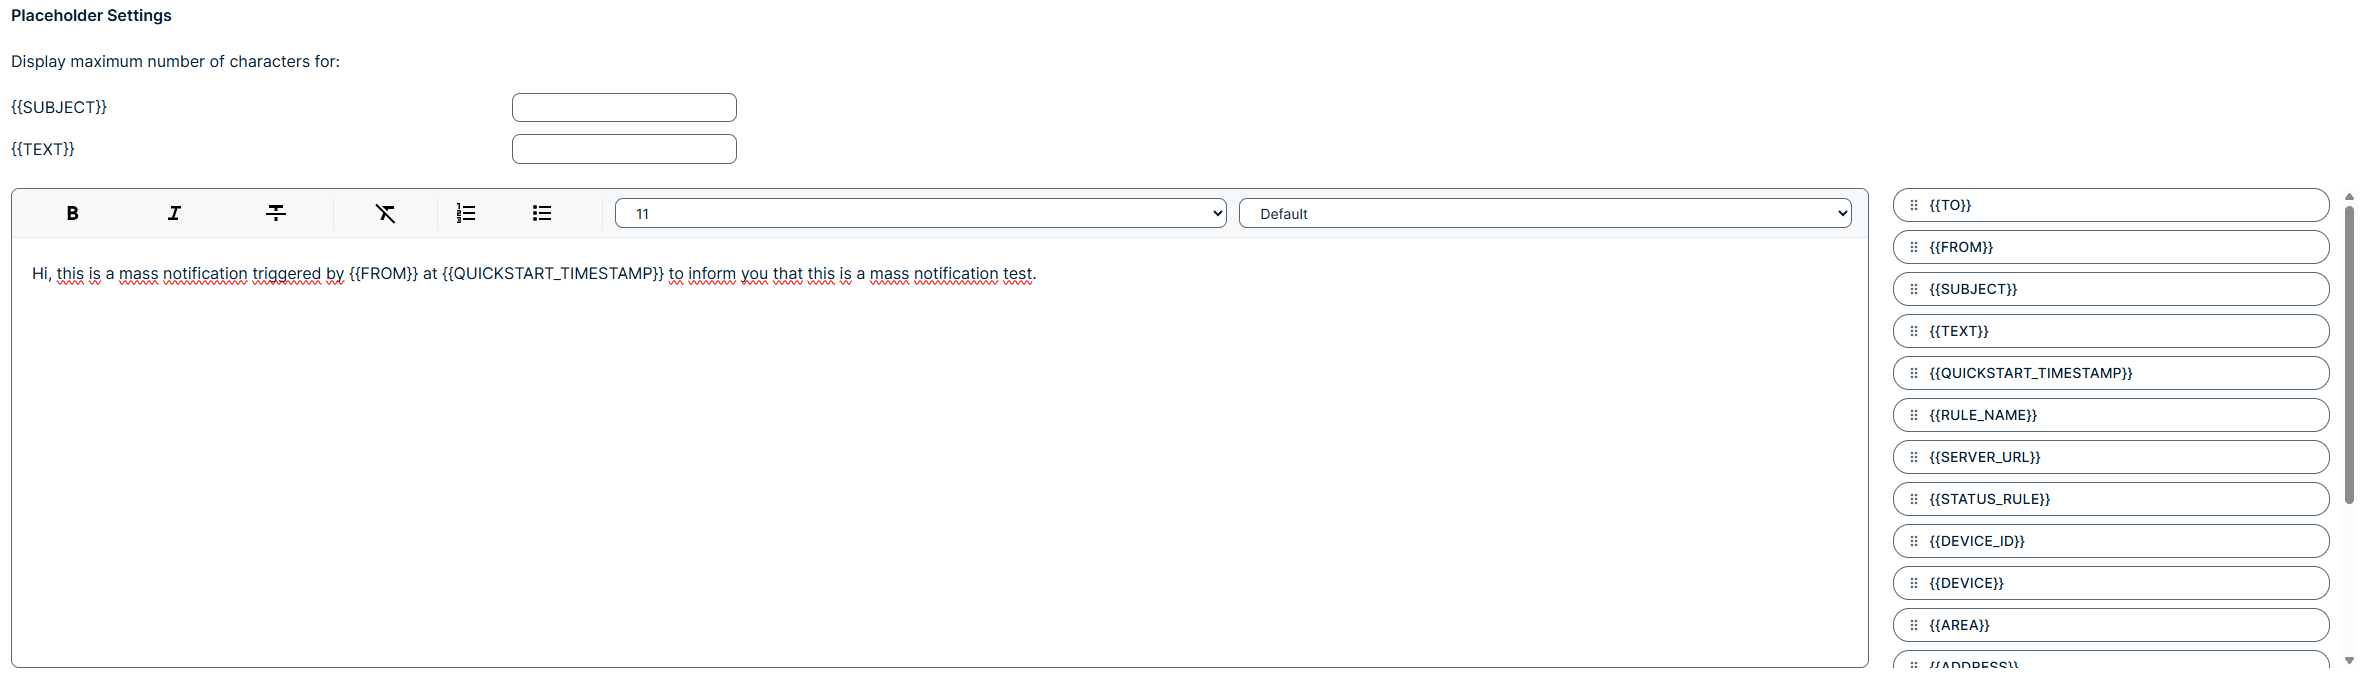
The user can create, edit and delete message templates, and attach them to a ruleset to ensure that the message template is used as the alarmtext whenever a quickstart is triggered.
The user can add formatting to the message template to make the alarm message more personalised and noticeable.
To ensure that the configured Message Templates replace the alarmtext upon triggering a quickstart, the ‘ Allow user to edit message before start an alarm’ setting has to be turned On in FACT24 ENS+ (Alarm Message > Settings).
Interfaces
The last icon in the navigation bar takes the user to the Interfaces Page.
Here, the user can monitor the available credits, and the list of configured interfaces.
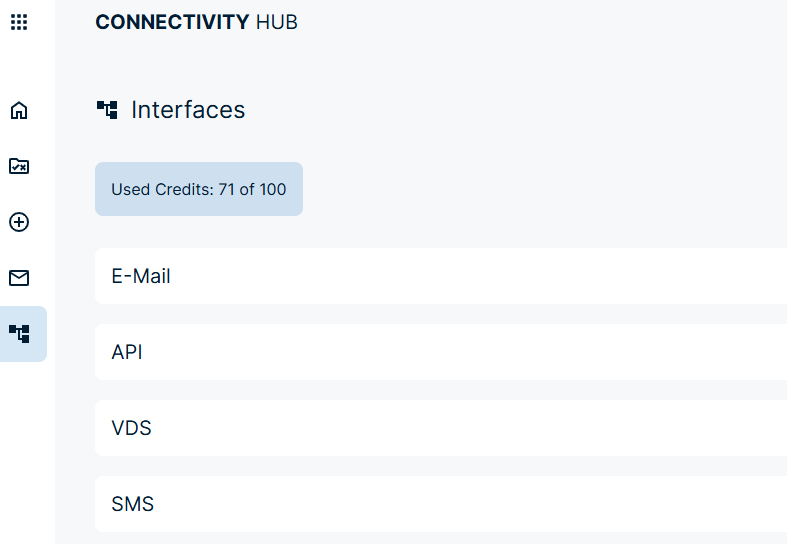
Connectivity Hub credits can be configured in FACT24 ENS+.
Instructions on how to create new interfaces can be found in the dedicated sections for: